As I’ve started building more GPU-enabled workloads in my home lab, I’ve found myself repeating a few steps to get the required software installed. It involved multiple tools, and I was referencing multiple sources in the vendor documentation.
I wanted to pull everything together into one document – both to document my process so I can automate it and also to share so I can help others who are looking at the same thing.
So this post covers the steps for installing and configuring the NVIDIA drivers, CUDA toolkit, and/or the Container Toolkit on vSphere virtual machines.
Install NVIDA Driver Prequisites
There are a few prerequisites required before installing the NVIDIA drivers. This includes installing kernel headers, the programs required to compile the NVIDIA drivers, and disabling Nouveau. We will also install the NVIDIA CUDA Repo.
#Install Prerequisites
sudo apt-get install xfsprogs wget git python3 python3-venv python3-pip p7zip-full build-essential -y
sudo apt-get install linux-headers-$(uname -r) -y

#Disable Nouveau
lsmod | grep nouveau

cat <<EOF | sudo tee /etc/modprobe.d/blacklist-nouveau.conf
blacklist nouveau
options nouveau modeset=0
EOF
sudo update-initramfs -u
Reboot the system after the initramfs build completes.
sudo rebootInstall the NVIDIA Drivers
NVIDIA includes .run and .deb installer options for Debian-based operating systems. I use the .run option because that is what I am most familiar with. The run file will need to be made executable as it does not have these permissions by default. I also install using the --dkms flag so the driver will be recompiled automatically if the kernel is updated.
The vGPU drivers are distributed through the NVIDIA Enterprise Software Licensing portal through the NVIDIA Virtual GPU or AI Enterprise product sets and require a license to use If you are using PCI Passthrough instead of GRID, you can download the NVIDIA Data Center/Tesla Drivers from the data center driver download page.

I am using the NVAIE product set for some of my testing, so I will be installing a vGPU driver. The steps to install the Driver, CUDA Toolkit, and Container Toolkit are the same whether you are using a regular data center driver or the vGPU driver. You will not need to configure any licensing when using PCI Passthrough.
The drivers need to be downloaded, copied over to the virtual machine, and have the executable flag set on the file.
sudo chmod +X NVIDIA-Linux-x86_64-550.54.15-grid.run
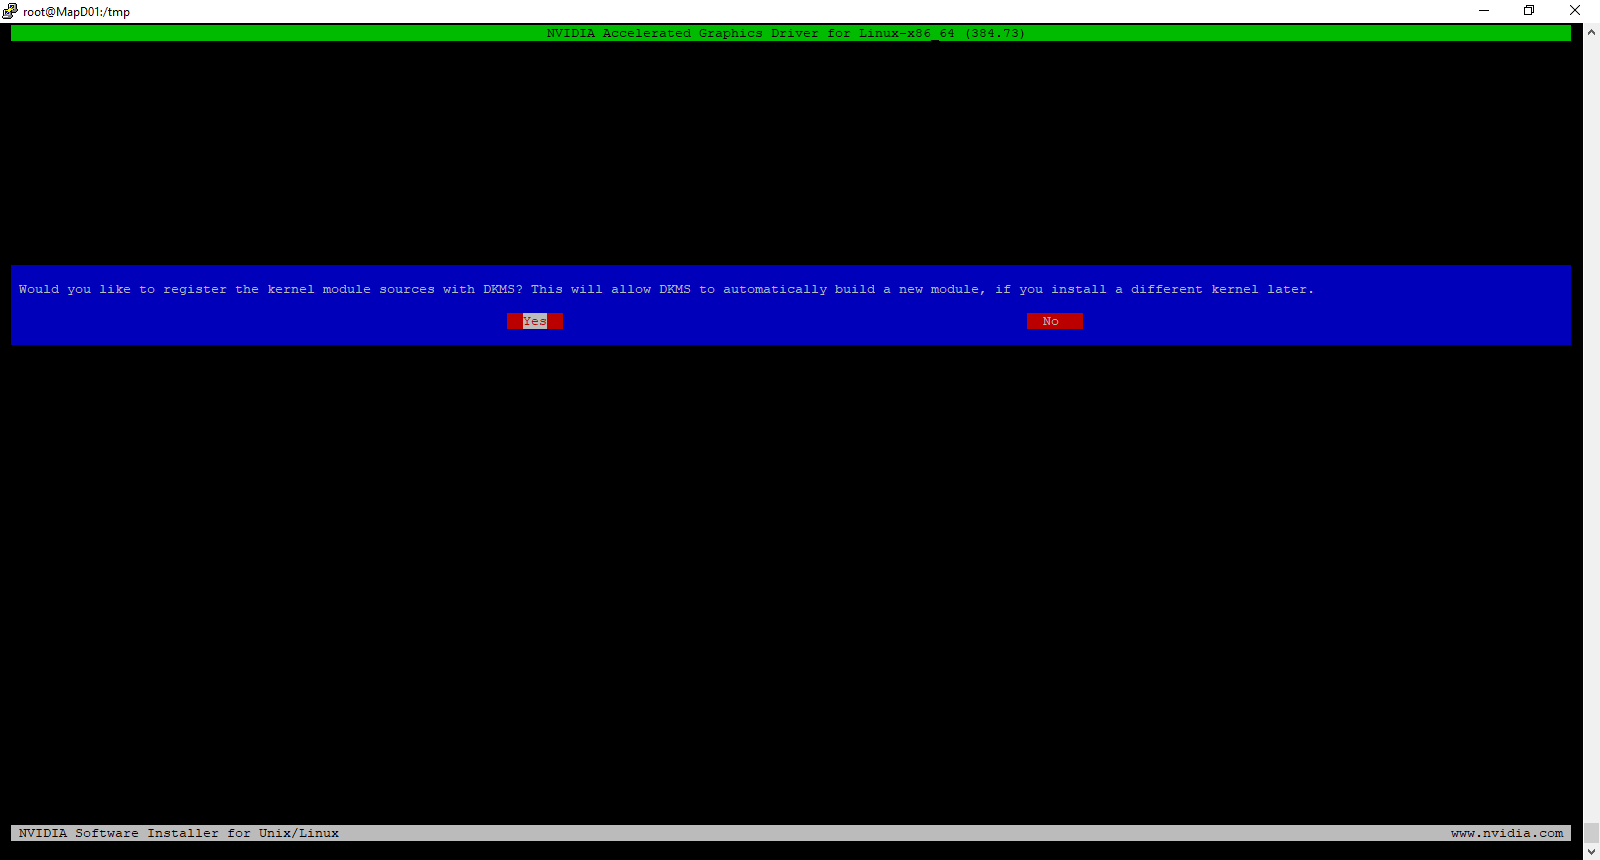
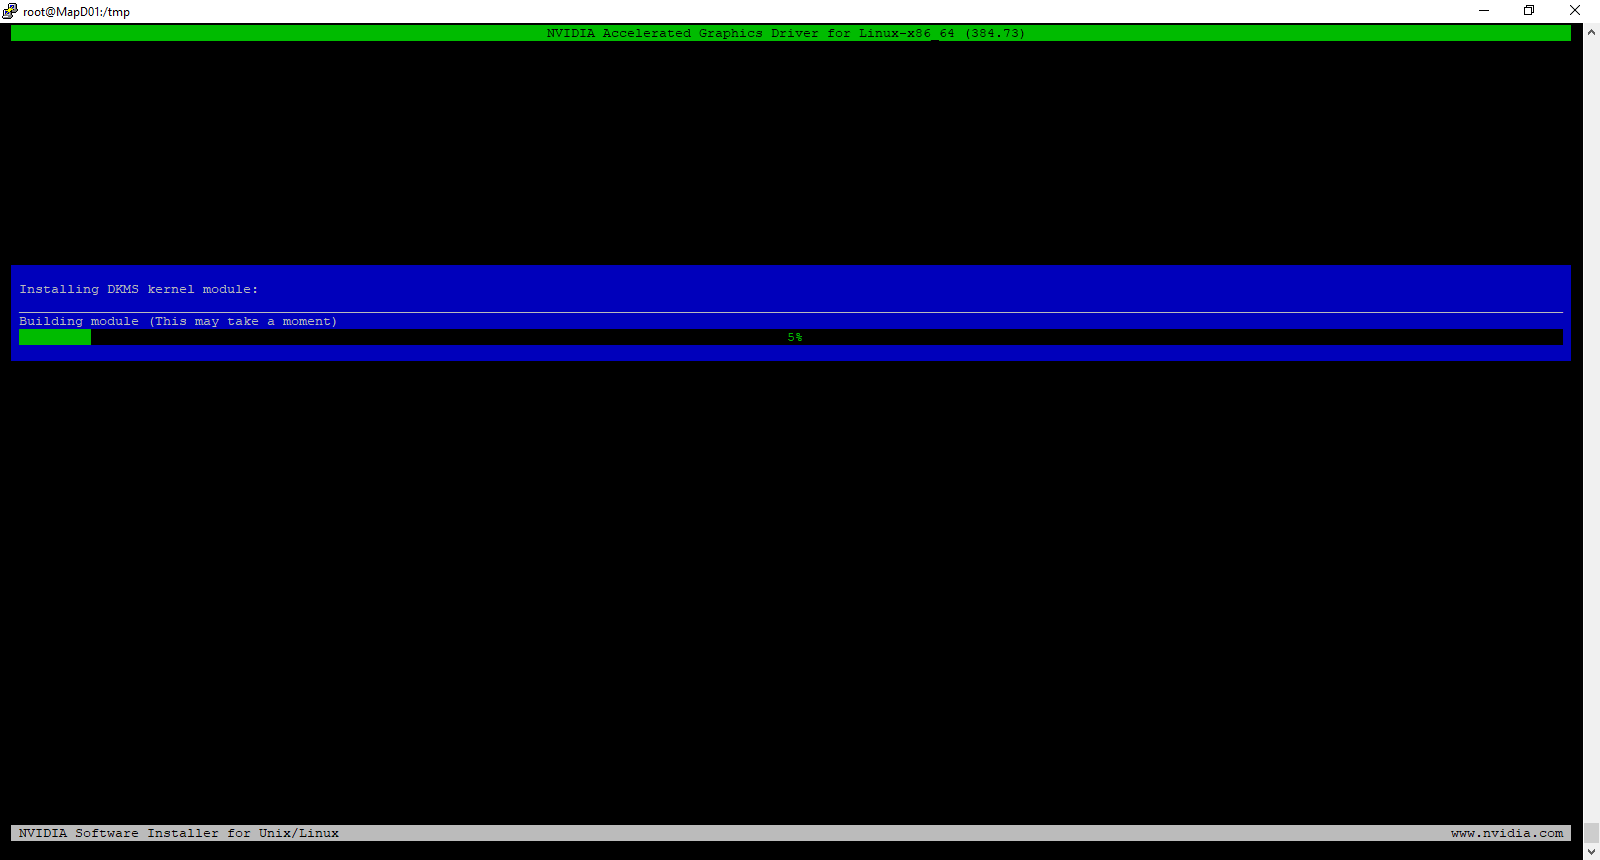
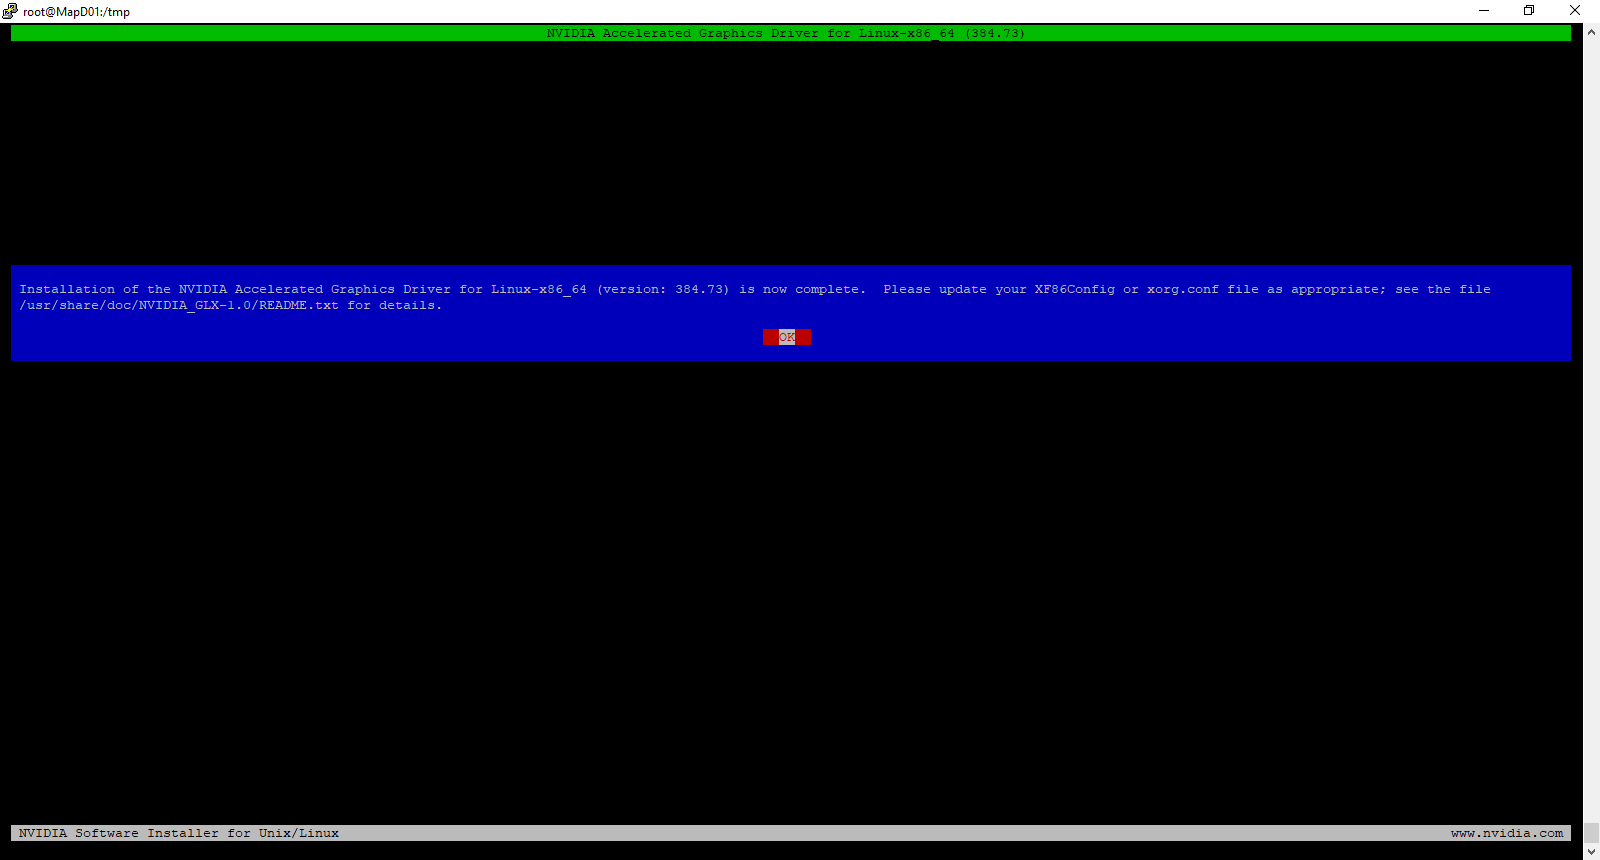
sudo bash ./NVIDIA-Linux-x86_64-550.54.15-grid.run --dkmsClick OK for any messages that are displayed during install. Once the installation is complete, reboot the server.
After the install completes, type the following command to verify that the driver is installed properly.
nvidia-smiYou should receive an output similar to the following:

Installing the CUDA Toolkit
Like the GRID Driver installer, NVIDIA distributes the CUDA Toolkit as both a .run and .deb installer. For this step, I’ll be using the .deb installer as it works with Debian’s built-in package management, can handle upgrades when new CUDA versions are released, and contains a multiple meta package installation options that are documented in the CUDA installation documentation.
By default, the CUDA toolkit installer will try to install an NVIDIA driver. Since this deployment is using a vGPU driver, we don’t want to use the driver included with CUDA. NVIDIA is very prescriptive about which driver versions work with vGPU, and installing a different driver, even if it is the same version, will result in errors.
The first step is to install the CUDA keyring and enable the contrib repository. The keyring file contains the repository information and the GPG signing key. Use the following commands to complete this step:
wget https://developer.download.nvidia.com/compute/cuda/repos/debian12/x86_64/cuda-keyring_1.1-1_all.deb
sudo dpkg -i cuda-keyring_1.1-1_all.deb
sudo add-apt-repository contrib
The next step is to update our Apt-Get repos and install the CUDA Toolkit. The CUDA toolkit requires a number of additional packages that will be installed alongside the main application.
sudo apt-get update && sudo apt-get -y install cuda-toolkit-12-5
The package installer does not add CUDA to the system PATH variable, so we need to do this manually. The way I’ve done this is to create a login script that applies for all users using the following command. The CUDA folder path is versioned, so this script to set the PATH variable will need to be updated when the CUDA version changes.
cat <<EOF | sudo tee /etc/profile.d/nvidia.sh
export PATH="/usr/local/cuda-12.5/bin${PATH:+:${PATH}}"
EOF
sudo chmod +x /etc/profile.d/nvidia.sh
Once our script is created, we need to apply the updated PATH variable and test our CUDA Toolkit installation to make sure it is working properly.
source /etc/profile.d/nvidia.sh
nvcc --version
You should receive the following output if the PATH variable is updated properly.

If you receive a command not found error, then the PATH variable has not been set properly, and you need to review and rerun the script that contains your EXPORT command.

NVIDIA Container Toolkit
If you are planning to use container workloads with your GPU, you will need to install the NVIDIA Container Toolkit. The Container Toolkit provides a container runtime library and utilities to configure containers to utilize NVIDIA GPUs. The Container Toolkit is distributed from an apt repository.
Note: The CUDA toolkit is not required if you are planning to only use container workloads with the GPU. An NVIDIA driver is still required on the host or VM.
The first step for installing the NVIDIA Container Toolkit on Debian is to import the Container Toolkit apt repository.
curl -fsSL https://nvidia.github.io/libnvidia-container/gpgkey | sudo gpg --dearmor -o /usr/share/keyrings/nvidia-container-toolkit-keyring.gpg \
  && curl -s -L https://nvidia.github.io/libnvidia-container/stable/deb/nvidia-container-toolkit.list | \
    sed 's#deb https://#deb [signed-by=/usr/share/keyrings/nvidia-container-toolkit-keyring.gpg] https://#g' | \
    sudo tee /etc/apt/sources.list.d/nvidia-container-toolkit.list
Update the apt repository packages lists and install the container toolkit.
sudo apt-get update && sudo apt-get install nvidia-container-toolkit
Docker needs to be configured and restarted after the container toolkit is installed.
sudo nvidia-ctk runtime configure --runtime=docker
sudo systemctl restart docker
Note: Other container runtimes are supported. Please see the documentation to see the supported container runtimes and their configuration instructions.
After restarting your container runtime, you can run a test workload to make sure the container toolkit is installed properly.
sudo docker run --rm --runtime=nvidia --gpus all ubuntu nvidia-smi
Using NVIDIA GPUs with Docker Compose
GPUs can be utilized with container workloads managed by Docker Compose. You will need to add the following lines, modified to fit your environment, to the container definition in your Docker Compose file. Please see the Docker Compose documentation for more details.
deploy:
 resources:
   reservations:
     devices:
       - driver: nvidia
         count: 1
         capabilities:
           - gpu
Configuring NVIDIA vGPU Licensed Features
Your machine will need to check out a license if NVIDIA vGPU or NVAIE are being used, and the NVIDIA vGPU driver will need to be configured with a license server. The steps for setting up a cloud or local instance of the NVIDIA License System are beyond the scope of this post, but they can be found in the NVIDIA License System documentation.
Note: You do not need to complete these steps if you are using the Data Center Driver with PCI Passthrough. Licensing is only required if you are using vGPU or NVAIE features.
A client configuration token will need to be configured once the license server instance has been set up. The steps for downloading the client configuration token can be found here for CLS, or cloud-hosted, instances and here for DLS, or delegated local, instances.
After generating and downloading the client configuration token, it will need to be placed onto your virtual machine. The file needs to be copied from your local machine to the /etc/nvidia/ClientConfigToken directory. This directory is locked down by default, and it requires root or sudo access to perform any file operations here. So you may need to copy the token file to your local home directory and use sudo to copy it into the ClientConfigToken directory. Or you can place the token file on a local web server and use wget/cURL to download it.
In my lab, I did the following:
sudo wget https://web-server-placeholder-url/NVIDIA/License/client_configuration_token_05-22-2024-22-41-58.tokThe token file needs to be made readable by all users after downloading it into the /etc/nvidia/ClientConfigToken directory.
sudo chmod 744 /etc/nvidia/ClientConfigToken/client_configuration_token_*.tokThe final step is to configure vGPU features. This is done by editing the gridd.conf file and enabling vGPU. The first step is to copy the gridd.conf.template file using the following command.
sudo cp /etc/nvidia/gridd.conf.template /etc/nvidia/gridd.confThe next step is to edit the file, find the line called FeatureType, and change the value from 0 to 1.
sudo nano /etc/nvidia/gridd.conf
Finally, restart the NVIDIA GRID daemon.
sudo systemctl restart nvidia-griddYou can check the service status with the sudo systemctl status nvidia-gridd command to see if a license was successfully checked out. You can also log into your license service portal and review the logs to see licensing activity.

Sources
While creating this post, I pulled from the following links and sources.
https://docs.nvidia.com/cuda/cuda-installation-guide-linux
https://docs.nvidia.com/cuda/cuda-installation-guide-linux/#meta-packages
https://docs.nvidia.com/ai-enterprise/deployment-guide-vmware/0.1.0/nouveau.html
https://docs.nvidia.com/datacenter/cloud-native/container-toolkit/latest/
https://docs.nvidia.com/datacenter/cloud-native/container-toolkit/latest/install-guide.html


You must be logged in to post a comment.