Early in December, Rubrik released the latest version of their core data protection platform – Andes 5.1. One of the new features in this release is support for SAML identity providers. SAML integration provides new capabilities to service providers and large enterprises by enabling integration into enterprise networks without having to directly integrate into Active Directory.
Rubrik also supports multi-factor authentication, but the only method supported out of the box is RSA SecurID. SAML integration enables enterprises to utilize other forms of multi-factor authentication, including RADIUS-based services and Azure MFA. It also allows for other security policies to be implemented including device-based compliance checks.
Prerequisites
Before we can begin configuring SAML integration, there are a few things we need to do. These prerequisites are similar to the Avi Networks SAML setup, but we won’t need to open the Workspace ONE Access metadata file in a text editor.
First, we need to make sure a DNS record is in place for our Rubrik environment. This will be used for the fully-qualified domain name that is used when signing into our system.
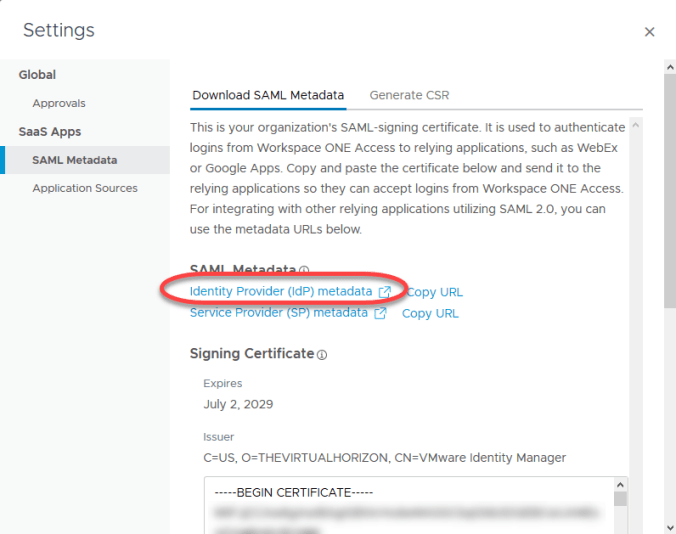
Second, we need to get the Workspace One Access IDP metadata. Rubrik does not import this automatically by providing a link the idp.xml file, so we need to download this file. The steps for retrieving the metadata are:
- Log into your Workspace One Access administrator console.
- Go to App Catalog
- Click Settings

- Under SaaS Apps, click SAML Metadata

- Right click on Identity Provider Metadata and select Save Link As. Save the file as idp.xml
Rubrik SAML Configuration
Once the prerequisites are taken care of, we can start the SAML configuration on the Rubrik side. This consists of generating the Rubrik SAML metadata and uploading the Workspace ONE metadata file.
- Log into your Rubrik Appliance.
- Go to the Gear icon in the upper right corner and select Users

- Select Identity Providers

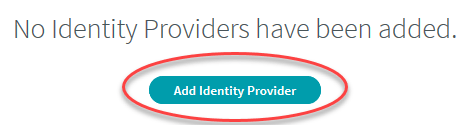
- Click Add Identity Provider
- Provide a name in the Identity Provider Name field.
- Click the folder icon next to the Identity Provider Metadata field.
- Upload the idp.xml file we saved in the last step.
- Select the Service Provider Host Address Option. This can be a DNS Name or the cluster floating IP depending on your environment configuration. For this setup, we will be doing a DNS Name.
- Enter the DNS name in the field.
- Click Download Rubrik Metadata.

- Click Add.
- Open the Rubrik Metadata file in a text editor. We will need this in the next step.
Workspace ONE Configuration
Now that the Rubrik side is configured, we need to create our Workspace ONE catalog entry. The steps for this are:
- Log into your Workspace One Access administrator panel.
- Go to the Catalog tab.
- Click New to create a new App Catalog entry.
- Provide a name for the new Rubrik entry in the App Catalog.
- If you have an icon to use, click Select File and upload the icon for the application.

- Click Next.
- In the Authentication Type field, select SAML 2.0
- In Configuration, select URL/XML

- Copy the contents of the Rubrik Metadata XML file.
- Paste them into the URL/XML textbox.
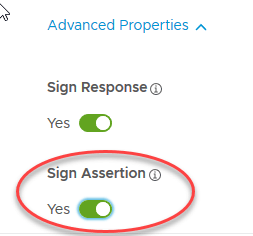
- Scroll down to the Advanced Properties section.
- Expand Advanced Properties.
- Click the toggle switch under Sign Assertion
- Click Next.
- Select an Access Policy to use for this application. This will determine the rules used for authentication and access to the application.
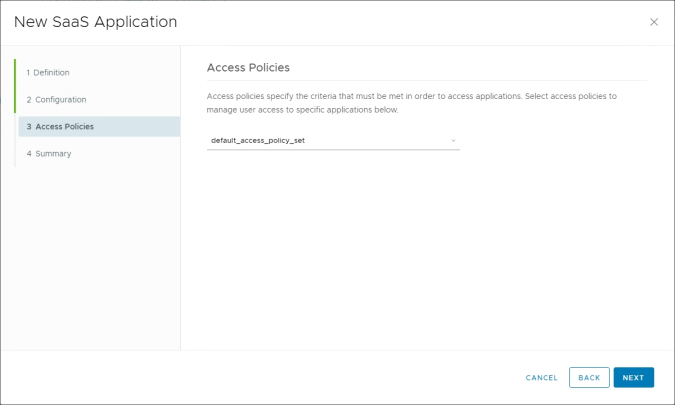
- Click Next.
- Review the Summary of the Configuration
- Click Save and Assign
- Select the users or groups that will have access to this application
- Click Save.
Authorizing SAML Users in Rubrik
The final configuration step is to authorize Workspace ONE users within Rubrik and assign them to a role. This step only works with individual users. While testing, I couldn’t find a way to have it accept users based on a group or SAML attribute.
The steps for authorizing Workspace ONE users is:
- Log into your Rubrik Appliance.
- Go to the Gear icon in the upper right corner and select Users
- Select Users and Groups

- Click Grant Authorization

- Select the directory.
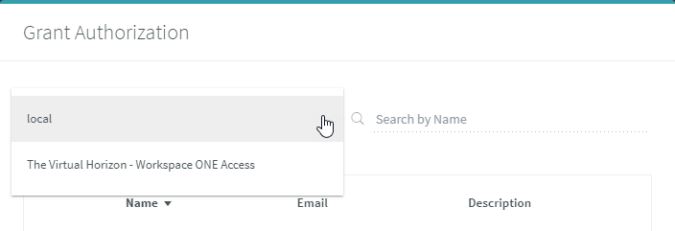
- Select User and enter the username that the user will use when signing into Workspace ONE.

- Click Continue.
- Select the role to assign to the user and click Assign.
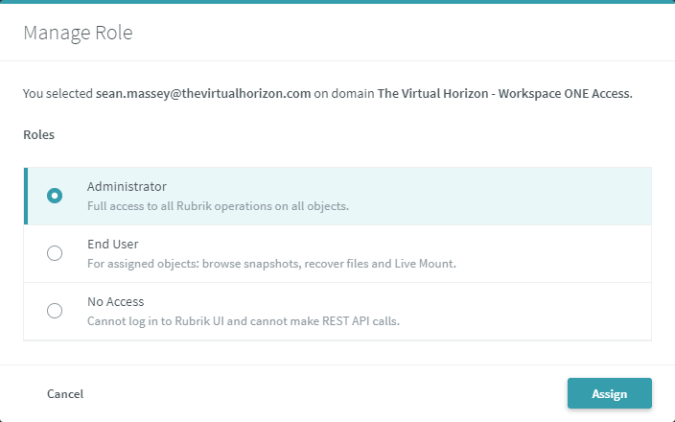
- The SAML user has been authorized to access the Rubrik appliance through SSO.
Testing SAML Authentication and Troubleshooting
So now that we have our authentication profiles configured in both Rubrik and Workspace One Access, we need to test it to ensure our admin users can sign in. In order to test access, you need to sign out of your Rubrik appliance. When you return to the login screen, you’ll see that it has changed slightly, and there will be a large “Sign in with SSO” button above the username field. When pressed, users will be directed to Workspace ONE and authenticated.
While Rubrik may be listed in the Workspace ONE Access App Catalog, launching from the app catalog will just bring you to the login page. I could not figure out how to get IdP-initiated logins to work, and some of my testing resulted in error pages that showed metadata errors.

You must be logged in to post a comment.